May has a way of sneaking in with longer days, softer light, and that first real hint of summer in the air. It’s the season of fresh ideas and just enough energy to start something new, or finally pick up something you’ve been putting off. And sometimes, all it takes to spark that little bit of inspiration is a fresh view… even if it’s just on your desktop.
That’s where our monthly wallpapers series comes in. For the past 15 years, artists and designers from around the world have been contributing their designs to celebrate each new month. This May is no exception. Created with care and a unique personal touch, every wallpaper in this collection comes in a variety of screen resolutions and can be downloaded for free. A huge thank-you to everyone who got creative — this post wouldn’t be possible without your wonderful support!
If you too would like to get featured in one of our upcoming wallpapers posts, please don’t hesitate to join in. We can’t wait to see what you’ll come up with! Happy May!
- You can click on every image to see a larger preview.
- We respect and carefully consider the ideas and motivation behind each and every artist’s work. This is why we give all artists the full freedom to explore their creativity and express emotions and experience through their works. This is also why the themes of the wallpapers weren’t anyhow influenced by us but rather designed from scratch by the artists themselves.
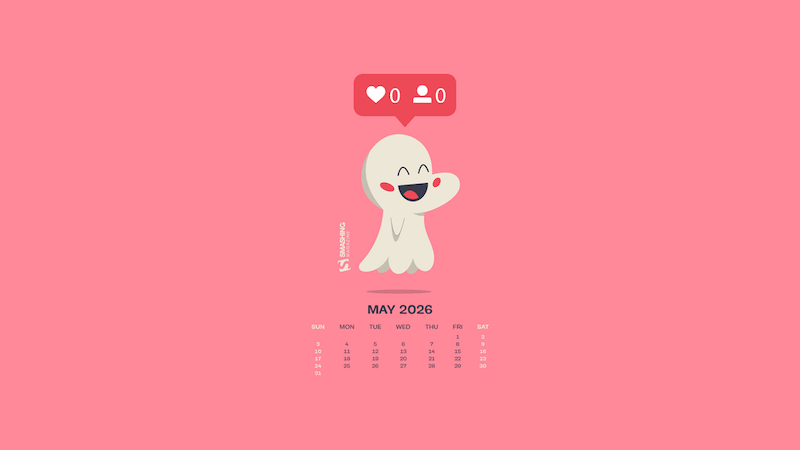
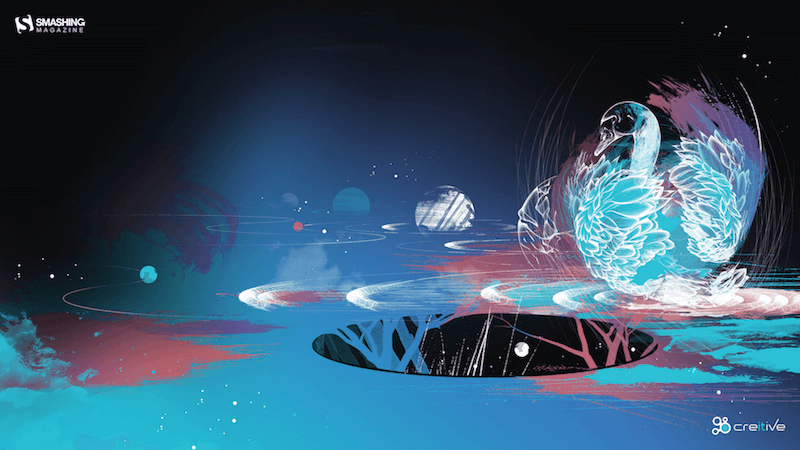
Happily Invisible Online
Designed by Ricardo Gimenes from Spain.
- preview
- with calendar: 640×480, 800×480, 800×600, 1024×768, 1024×1024, 1152×864, 1280×720, 1280×800, 1280×960, 1280×1024, 1366×768, 1400×1050, 1440×900, 1600×1200, 1680×1050, 1680×1200, 1920×1080, 1920×1200, 1920×1440, 2560×1440, 3840×2160
- without calendar: 640×480, 800×480, 800×600, 1024×768, 1024×1024, 1152×864, 1280×720, 1280×800, 1280×960, 1280×1024, 1366×768, 1400×1050, 1440×900, 1600×1200, 1680×1050, 1680×1200, 1920×1080, 1920×1200, 1920×1440, 2560×1440, 3840×2160
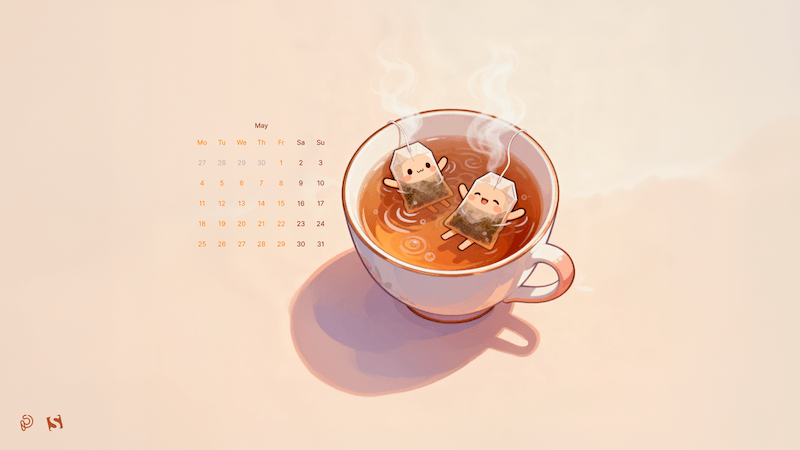
Where Every Sip Tells A Secret
“A quiet ritual, a shared moment, a pause in the rush — tea invites you to slow down and discover warmth in the smallest details. Let each cup unfold its own little story.” — Designed by PopArt Studio from Novi Sad, Serbia.
- preview
- with calendar: 320×480, 640×480, 800×480, 800×600, 1024×768, 1024×1024, 1152×864, 1280×720, 1280×800, 1280×960, 1280×1024, 1400×1050, 1440×900, 1600×1200, 1680×1050, 1680×1200, 1920×1080, 1920×1200, 1920×1440, 2560×1440
- without calendar: 320×480, 640×480, 800×480, 800×600, 1024×768, 1024×1024, 1152×864, 1280×720, 1280×800, 1280×960, 1280×1024, 1400×1050, 1440×900, 1600×1200, 1680×1050, 1680×1200, 1920×1080, 1920×1200, 1920×1440, 2560×1440
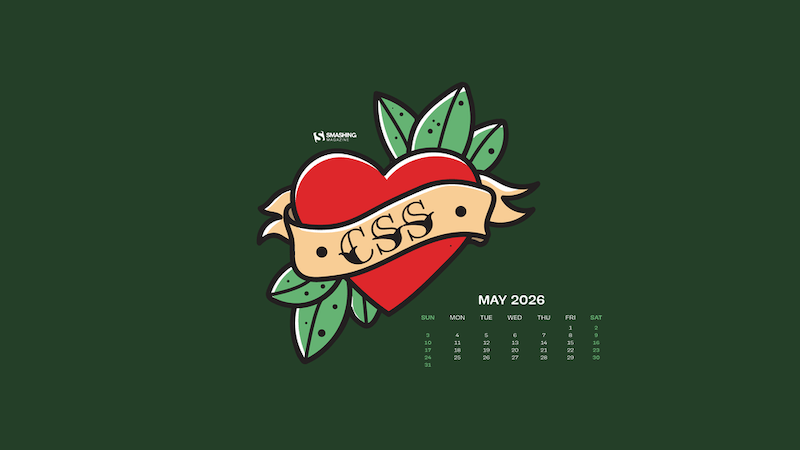
Just A Style Thing
Designed by Ricardo Gimenes from Spain.
- preview
- with calendar: 640×480, 800×480, 800×600, 1024×768, 1024×1024, 1152×864, 1280×720, 1280×800, 1280×960, 1280×1024, 1366×768, 1400×1050, 1440×900, 1600×1200, 1680×1050, 1680×1200, 1920×1080, 1920×1200, 1920×1440, 2560×1440, 3840×2160
- without calendar: 640×480, 800×480, 800×600, 1024×768, 1024×1024, 1152×864, 1280×720, 1280×800, 1280×960, 1280×1024, 1366×768, 1400×1050, 1440×900, 1600×1200, 1680×1050, 1680×1200, 1920×1080, 1920×1200, 1920×1440, 2560×1440, 3840×2160
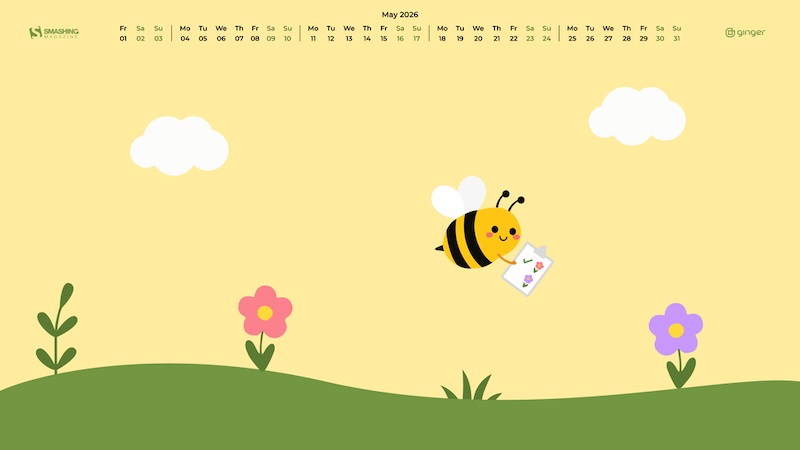
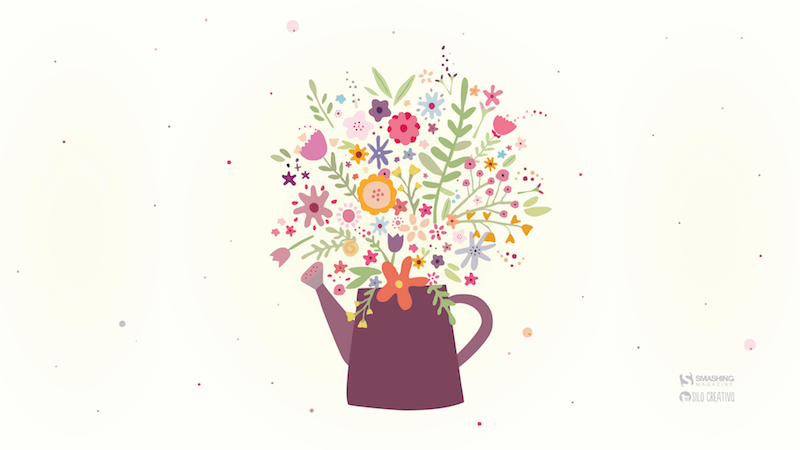
Next Bloom
“A small bee with a big garden plan checks each flower on her list and looks for the next bloom to visit.” — Designed by Ginger IT Solutions from Serbia.
- preview
- with calendar: 320×480, 640×480, 800×480, 800×600, 1024×768, 1024×1024, 1152×864, 1280×720, 1280×800, 1280×960, 1280×1024, 1400×1050, 1440×900, 1600×1200, 1680×1050, 1680×1200, 1920×1080, 1920×1200, 1920×1440, 2560×1440
- without calendar: 320×480, 640×480, 800×480, 800×600, 1024×768, 1024×1024, 1152×864, 1280×720, 1280×800, 1280×960, 1280×1024, 1400×1050, 1440×900, 1600×1200, 1680×1050, 1680×1200, 1920×1080, 1920×1200, 1920×1440, 2560×1440
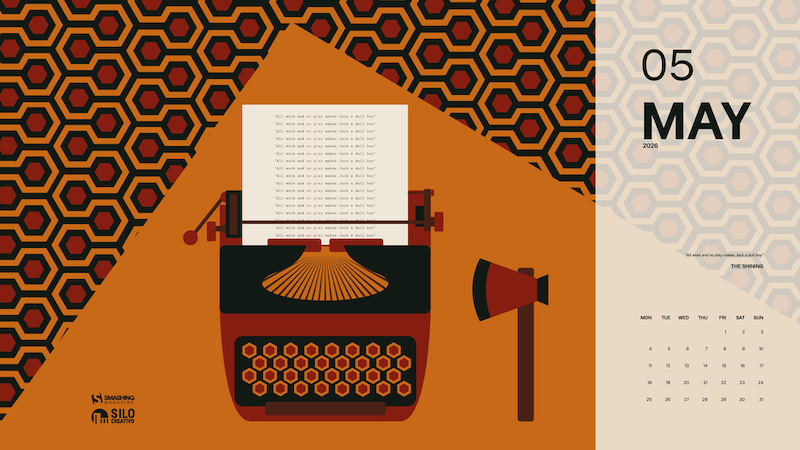
No Play Jack
“Summer is getting closer, but we’re reminded of a more wintry and eerie landscape, like that of ‘The Shining.’ A truly great film, proving that you don’t need much, but it needs to be used well to create suspense and terror.” — Designed by Veronica Valenzuela from Spain.
- preview
- with calendar: 640×480, 800×480, 1024×768, 1280×720, 1280×800, 1440×900, 1600×1200, 1920×1080, 1920×1440, 2560×1440
- without calendar: 640×480, 800×480, 1024×768, 1280×720, 1280×800, 1440×900, 1600×1200, 1920×1080, 1920×1440, 2560×1440
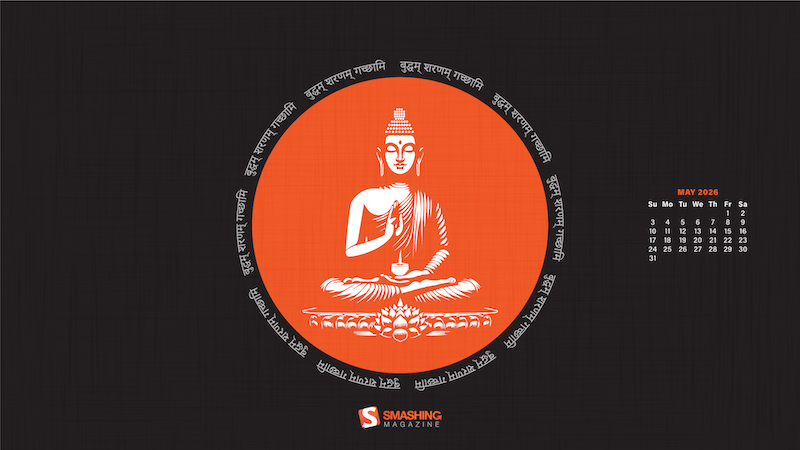
Buddha Purnima
“Buddha Purnima, falling on May 1st, is the most sacred Buddhist festival commemorating the birth, enlightenment, and passing of Gautama Buddha. It is observed on the full moon day of the Vaisakha month, symbolizing spiritual liberation and the triumph of peace. The day serves as a global reminder of his core teachings: non-violence, compassion, and the path to ending suffering.” — Designed by V D Photography from Surat, Gujarat, India.
- preview
- with calendar: 1280×720, 1920×1080, 2560×1440, 3840×2160
- without calendar: 1280×720, 1920×1080, 2560×1440, 3840×2160
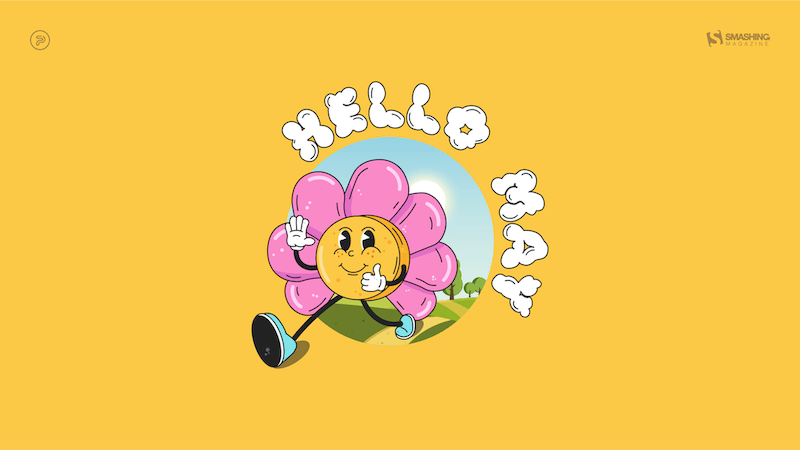
Hello May
“The longing for warmth, flowers in bloom, and new beginnings is finally over as we welcome the month of May. From celebrating nature on the days of turtles and birds to marking the days of our favorite wine and macarons, the historical celebrations of the International Workers’ Day, Cinco de Mayo, and Victory Day, to the unforgettable ‘May the Fourth be with you’, May is a time of celebration — so make every May day count!” — Designed by PopArt Studio from Serbia.
- preview
- without calendar: 320×480, 640×480, 800×480, 800×600, 1024×768, 1024×1024, 1152×864, 1280×720, 1280×800, 1280×960, 1280×1024, 1366×768, 1440×900, 1440×1050, 1600×1200, 1680×1050, 1680×1200, 1920×1080, 1920×1200, 1920×1440, 2560×1440
Add Color To Your Life!
“This month is dedicated to flowers, to join us and brighten our days giving a little more color to our daily life.” — Designed by Verónica Valenzuela Jimenez from Spain.
- preview
- without calendar: 800×480, 1024×768, 1152×864, 1280×800, 1280×960, 1440×900, 1680×1200, 1920×1080, 2560×1440
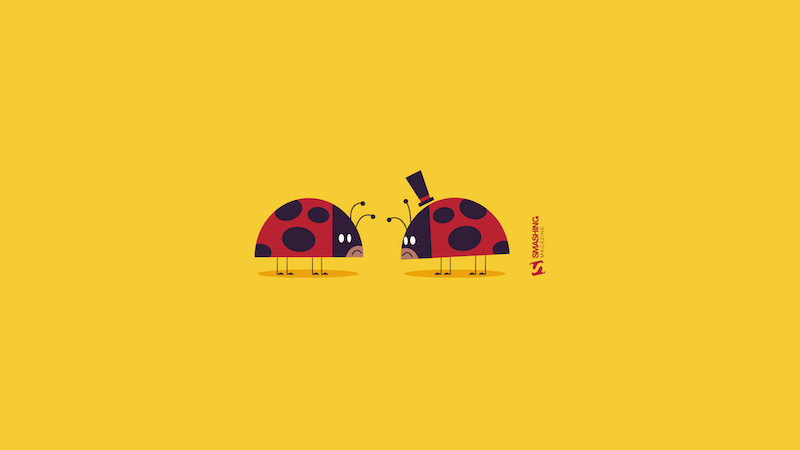
Ladies And Gentlemen
Designed by Ricardo Gimenes from Spain.
- preview
- without calendar: 640×480, 800×480, 800×600, 1024×768, 1024×1024, 1152×864, 1280×720, 1280×800, 1280×960, 1280×1024, 1366×768, 1400×1050, 1440×900, 1600×1200, 1680×1050, 1680×1200, 1920×1080, 1920×1200, 1920×1440, 2560×1440, 3840×2160
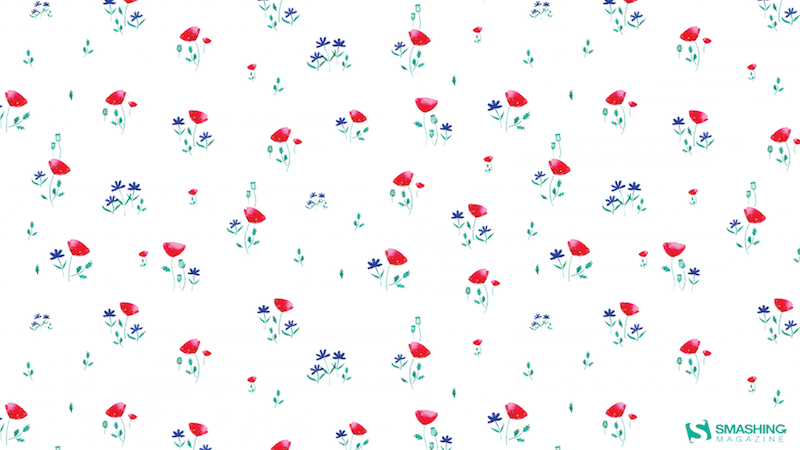
Poppies Paradise
Designed by Nathalie Ouederni from France.
- preview
- without calendar: 320×480, 1024×768, 1280×1024, 1440×900, 1680×1200, 1920×1200, 2560×1440
Understand Yourself
“Sunsets in May are the best way to understand who you are and where you are heading. Let’s think more!” — Designed by Igor Izhik from Canada.

- preview
- without calendar: 1280×720, 1280×800, 1280×960, 1280×1024, 1400×1050, 1440×900, 1600×1200, 1680×1050, 1680×1200, 1920×1080, 1920×1200, 1920×1440, 2560×1440
Navigating The Amazon
“We are in May, the spring month par excellence, and we celebrate it in the Amazon jungle.” — Designed by Veronica Valenzuela Jimenez from Spain.

- preview
- without calendar: 640×480, 800×480, 1024×768, 1280×720, 1280×800, 1440×900, 1600×1200, 1920×1080, 1920×1440, 2560×1440
ARRR2-D2
Designed by Ricardo Gimenes from Spain.

- preview
- without calendar: 640×480, 800×480, 800×600, 1024×768, 1024×1024, 1152×864, 1280×720, 1280×800, 1280×960, 1280×1024, 1366×768, 1400×1050, 1440×900, 1600×1200, 1680×1050, 1680×1200, 1920×1080, 1920×1200, 1920×1440, 2560×1440, 3840×2160
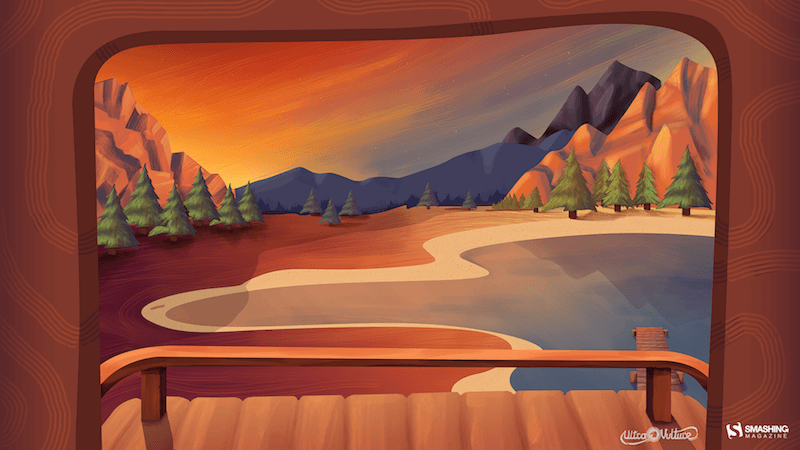
Lake Deck
“I wanted to make a big painterly vista with some mountains and a deck and such.” — Designed by Mike Healy from Australia.
- preview
- without calendar: 1280×960, 1440×900, 1680×1050, 1920×1080, 2560×1440, 2560×1600, 2880×1800
Today, Yesterday, Or Tomorrow
Designed by Alma Hoffmann from the United States.
- preview
- without calendar: 1024×768, 1024×1024, 1280×800, 1280×1024, 1366×768, 1440×900, 1680×1050, 1920×1080, 1920×1200, 2560×1440
The Monolith
Designed by Ricardo Gimenes from Spain.

- preview
- without calendar: 640×480, 800×480, 800×600, 1024×768, 1024×1024, 1152×864, 1280×720, 1280×800, 1280×960, 1280×1024, 1366×768, 1400×1050, 1440×900, 1600×1200, 1680×1050, 1680×1200, 1920×1080, 1920×1200, 1920×1440, 2560×1440, 3840×2160
Tentacles
Designed by Julie Lapointe from Canada.
- preview
- without calendar: 320×480, 1024×768, 1280×800, 1280×1024, 1440×900, 1680×1050, 1920×1200
Geo
Designed by Amanda Focht from the United States.
- preview
- without calendar: 320×480, 640×480, 800×480, 1024×768, 1024×1024, 1152×864, 1280×720, 1280×800, 1280×960, 1280×1024, 1366×768, 1400×1050, 1440×900, 1680×1200, 1920×1080, 1920×1440, 2560×1440
Make A Wish
Designed by Julia Versinina from Chicago, USA.
- preview
- without calendar: 320×480, 640×480, 800×480, 800×600, 1024×768, 1024×1024, 1152×864, 1280×720, 1280×800, 1280×960, 1280×1024, 1440×900, 1600×1200, 1680×1050, 1680×1200, 1920×1080, 1920×1200, 1920×1440, 2560×1440
Bat Traffic
Designed by Ricardo Gimenes from Spain.

- preview
- without calendar: 640×480, 800×480, 800×600, 1024×768, 1024×1024, 1152×864, 1280×720, 1280×800, 1280×960, 1280×1024, 1366×768, 1400×1050, 1440×900, 1600×1200, 1680×1050, 1680×1200, 1920×1080, 1920×1200, 1920×1440, 2560×1440, 3840×2160
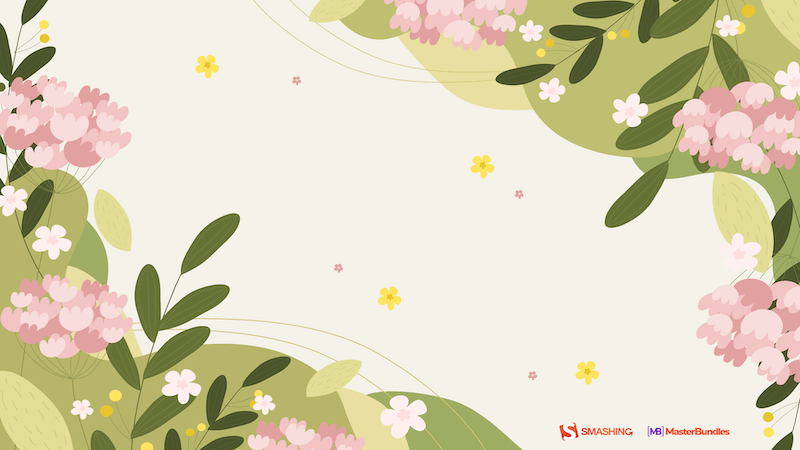
Blooming May
“In spring, especially in May, we all want bright colors and lightness, which were not there in winter.” — Designed by MasterBundles from Ukraine.
- preview
- without calendar: 320×480, 640×480, 800×480, 800×600, 1024×768, 1024×1024, 1152×864, 1280×720, 1280×800, 1280×960, 1280×1024, 1366×768, 1400×1050, 1440×900, 1600×1200, 1680×1050, 1680×1200, 1920×1080, 1920×1200, 1920×1440, 2560×1440
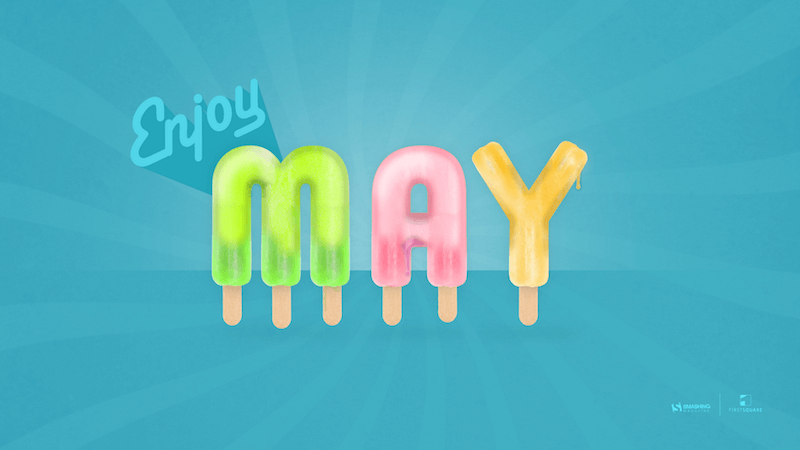
Enjoy May!
“Springtime, especially May, is my favorite time of the year. And I like popsicles — so it’s obvious isn’t it?” — Designed by Steffen Weiß from Germany.
- preview
- without calendar: 320×480, 640×480, 800×480, 800×600, 1024×768, 1024×1024, 1152×864, 1280×720, 1280×800, 1280×960, 1280×1024, 1400×1050, 1440×900, 1600×1200, 1680×1050, 1680×1200, 1920×1080, 1920×1200, 1920×1440, 2560×1440
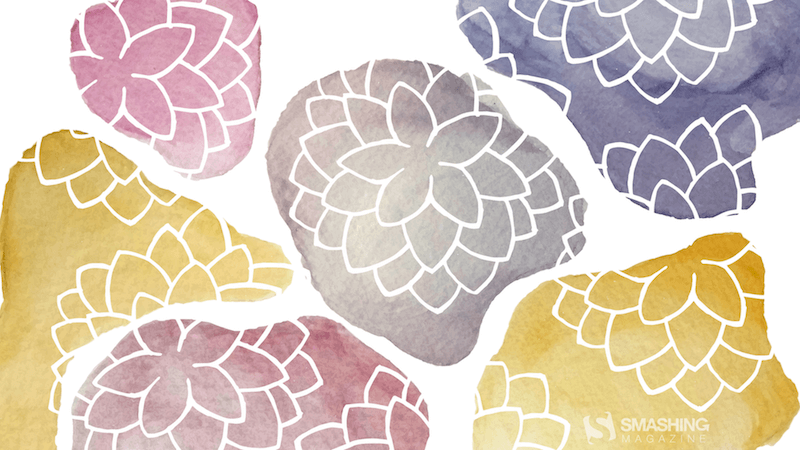
Stone Dahlias
Designed by Rachel Hines from the United States.
- preview
- without calendar: 320×480, 640×480, 800×480, 800×600, 1024×768, 1024×1024, 1152×864, 1280×720, 1280×1024, 1366×768, 1400×900, 1400×1050, 1600×1200, 1680×1050, 1680×1200, 1920×1080, 1920×1200, 1920×1440, 2560×1440
Spring Gracefulness
“We don’t usually count the breaths we take, but observing nature in May, we can’t count our breaths being taken away.” — Designed by Ana Masnikosa from Belgrade, Serbia.
- preview
- without calendar: 320×480, 640×480, 800×480, 800×600, 1024×768, 1024×1024, 1152×864, 1280×720, 1280×800, 1280×960, 1280×1024, 1400×1050, 1440×900, 1600×1200, 1680×1050, 1680×1200, 1920×1080, 1920×1200, 1920×1440, 2560×1440
Sweet Lily Of The Valley
“The ‘lily of the valley’ came earlier this year. In France, we celebrate the month of May with this plant.” — Designed by Philippe Brouard from France.

- preview
- without calendar: 800×480, 1024×768, 1024×1024, 1280×720, 1280×1024, 1440×900, 1920×1080, 1920×1440, 2560×1440
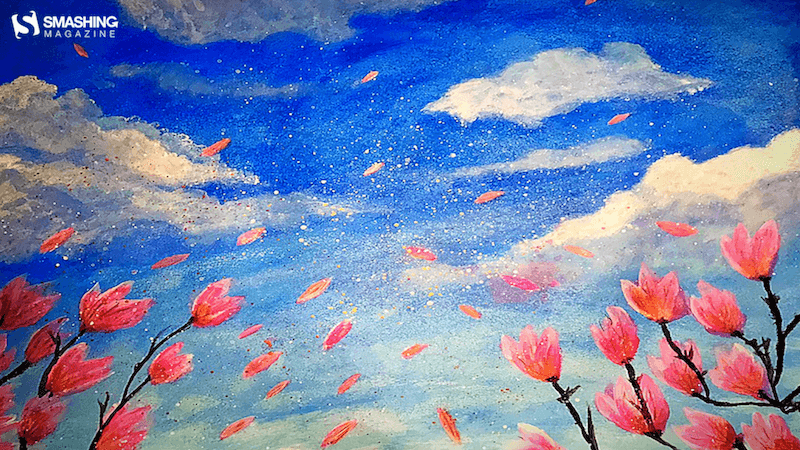
April Showers Bring Magnolia Flowers
“April and May are usually when everything starts to bloom, especially the magnolia trees. I live in an area where there are many and when the wind blows, the petals make it look like snow is falling.” — Designed by Sarah Masucci from the United States.
- preview
- without calendar: 320×480, 640×480, 800×480, 800×600, 1024×768, 1024×1024, 1152×864, 1280×720, 1280×800, 1280×960, 1280×1024, 1400×1050, 1440×900, 1600×1200, 1680×1050, 1680×1200, 1920×1080, 1920×1200, 1920×1440, 2560×1440
Always Seek Knowledge
“‘As knowledge increases, wonder deepens.’ (Charles Morgan) So I tried to create an illustration based on this.” — Designed by Bisakha Datta from India.

- preview
- without calendar: 320×480, 640×480, 800×480, 1024×768, 1024×1024, 1152×864, 1280×720, 1280×800, 1280×960, 1280×1024, 1366×768, 1400×900, 1400×1050, 1600×1200, 1680×1050, 1680×1200, 1920×1080, 1920×1200, 1920×1440, 2560×1440
May Your May Be Magnificent
“May should be as bright and colorful as this calendar! That’s why our designers chose these juicy colors.” — Designed by MasterBundles from Ukraine.

- preview
- without calendar: 320×480, 640×480, 800×480, 800×600, 1024×768, 1024×1024, 1152×864, 1280×720, 1280×800, 1280×960, 1280×1024, 1366×768, 1400×1050, 1440×900, 1600×1200, 1680×1050, 1680×1200, 1920×1080, 1920×1200, 1920×1440, 2560×1440
Celestial Longitude Of 45°
“Lixia is the 7th solar term according to the traditional East Asian calendars, which divide a year into 24 solar terms. It signifies the beginning of summer in East Asian cultures. Usually begins around May 5 and ends around May 21.” — Designed by Hong, Zi-Cing from Taiwan.

- preview
- without calendar: 1024×768, 1080×1920, 1280×720, 1280×800, 1280×960, 1366×768, 1400×1050, 1680×1050, 1920×1080, 1920×1200, 2560×1440
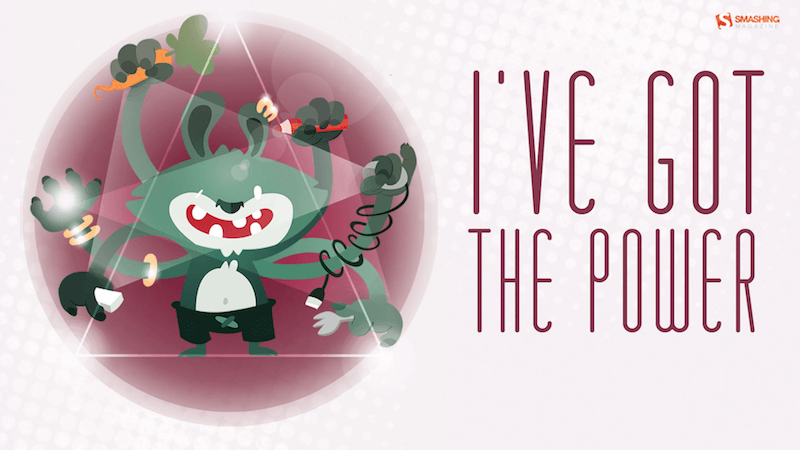
Power
Designed by Elise Vanoorbeek from Belgium.
- preview
- without calendar: 1024×768, 1280×800, 1280×1024, 1440×900, 1680×1050, 1920×1200, 2560×1440
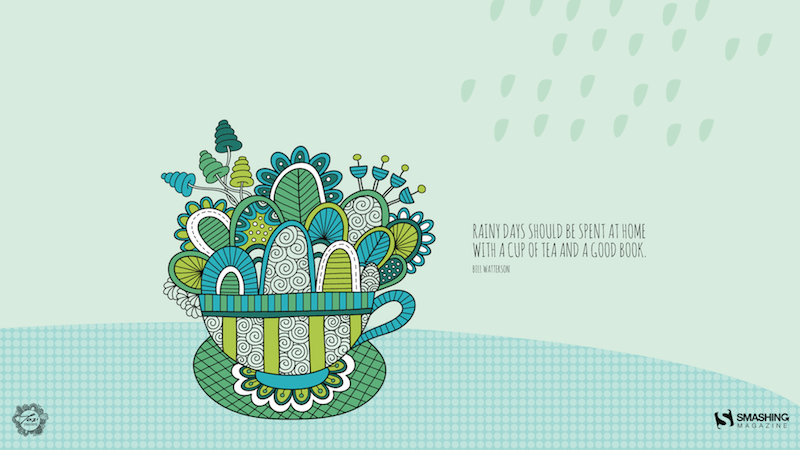
Rainy Days
“Winter is nearly here in my part of the world and I think rainy days should be spent at home with a good book!” — Designed by Tazi Design from Australia.
- preview
- without calendar: 320×480, 640×480, 800×600, 1024×768, 1152×864, 1280×720, 1280×960, 1600×1200, 1920×1080, 1920×1440, 2560×1440
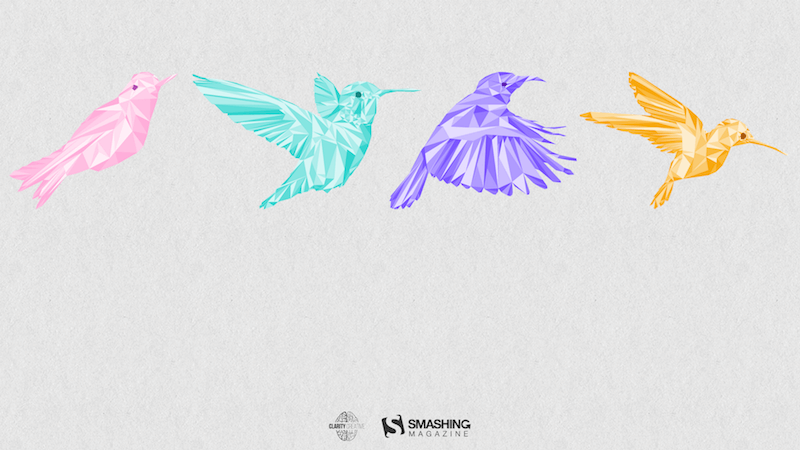
Birds Of May
“Inspired by a little-known ‘holiday’ on May 4th known as ‘Bird Day’. It is the first holiday in the United States celebrating birds. Hurray for birds!” — Designed by Clarity Creative Group from Orlando, FL.
- preview
- without calendar: 320×480, 640×480, 640×960, 640×1136, 800×480, 800×600, 1024×768, 1024×1024, 1152×864, 1280×720, 1280×800, 1280×960, 1280×1024, 1400×1050, 1440×900, 1600×1200, 1680×1050, 1680×1200, 1920×1080, 1920×1200, 1920×1440, 2560×1440
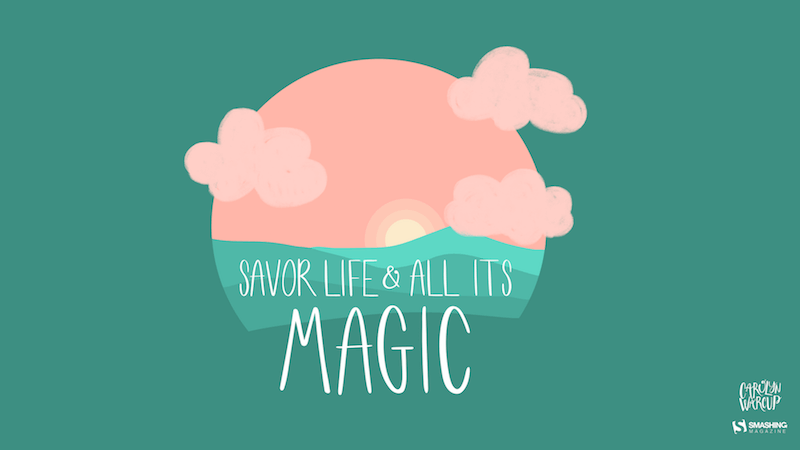
Magical Sunset
“I designed Magical Sunset as a friendly reminder to take a moment and enjoy life around you. Each sunset and sunrise brings a new day for greatness and a little magic.” — Designed by Carolyn Warcup from the United States.
- preview
- without calendar: 320×480, 640×480, 800×480, 800×600, 1024×768, 1024×1024, 1152×864, 1280×720, 1280×800, 1280×960, 1280×1024, 1366×768, 1400×1050, 1440×900, 1600×1200, 1680×1050, 1680×1200, 1920×1080, 1920×1200, 1920×1440, 2560×1440
All Is Possible In May
“Edwin Way Teale once said that ‘[t]he world’s favorite season is the spring. All things seem possible in May.’ Now that the entire nature is clothed with grass and branches full of blossoms that will grow into fruit, we cannot help going out and enjoying every scent, every sound, every joyful movement of nature’s creatures. Make this May the best so far!” — Designed by PopArt Studio from Serbia.
- preview
- without calendar: 320×480, 640×480, 800×480, 800×600, 1024×768, 1024×1024, 1152×864, 1280×720, 1280×800, 1280×960, 1280×1024, 1366×768, 1440×900, 1440×1050, 1600×1200, 1680×1050, 1680×1200, 1920×1080, 1920×1200, 1920×1440, 2560×1440
Get Featured Next Month
Feeling inspired? We’ll publish the June wallpapers on May 31, so if you’d like to be part of the collection, please don’t hesitate to submit your design. We are already looking forward to it!